Post by Dust on Oct 10, 2013 19:42:12 GMT 1
If no one else is gonna start with the tutorials, then I will! This is for a three-in-one leather pouch. You'll need to figure out how you want to attach it to your belt and incorporate it in your own design.
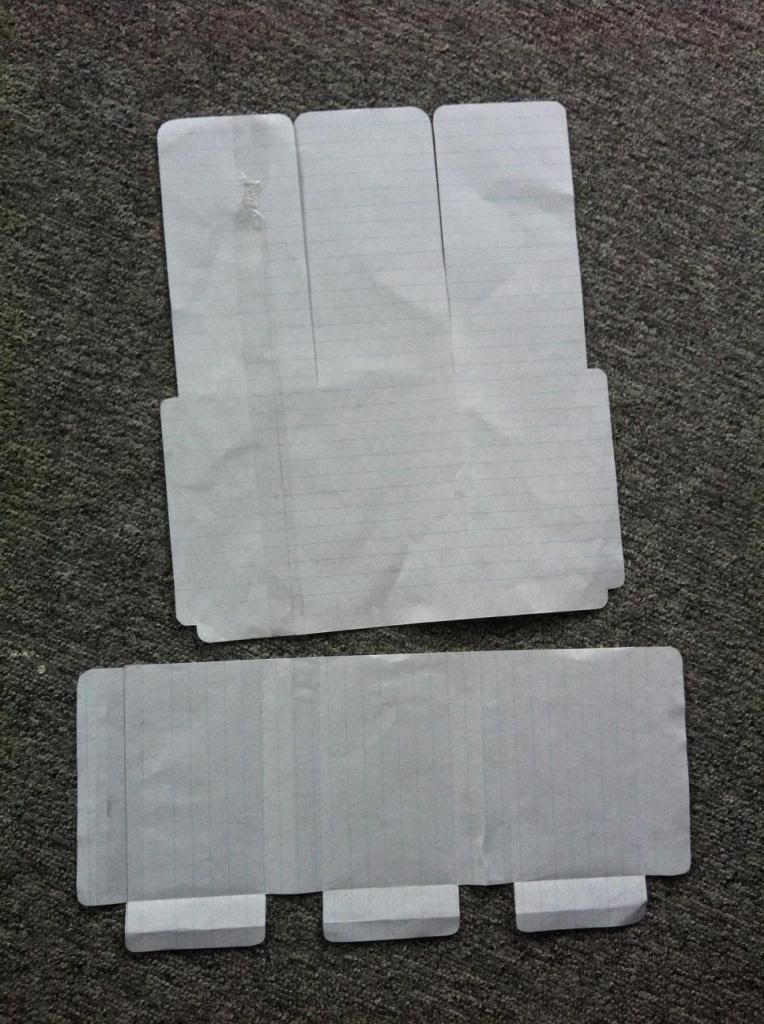
This is the pattern I startet out with. It's made in size to hold myphone comlink.
I choose a nice thick rancor hide. Gundark would be fine too, and give it a nice red colour I believe.
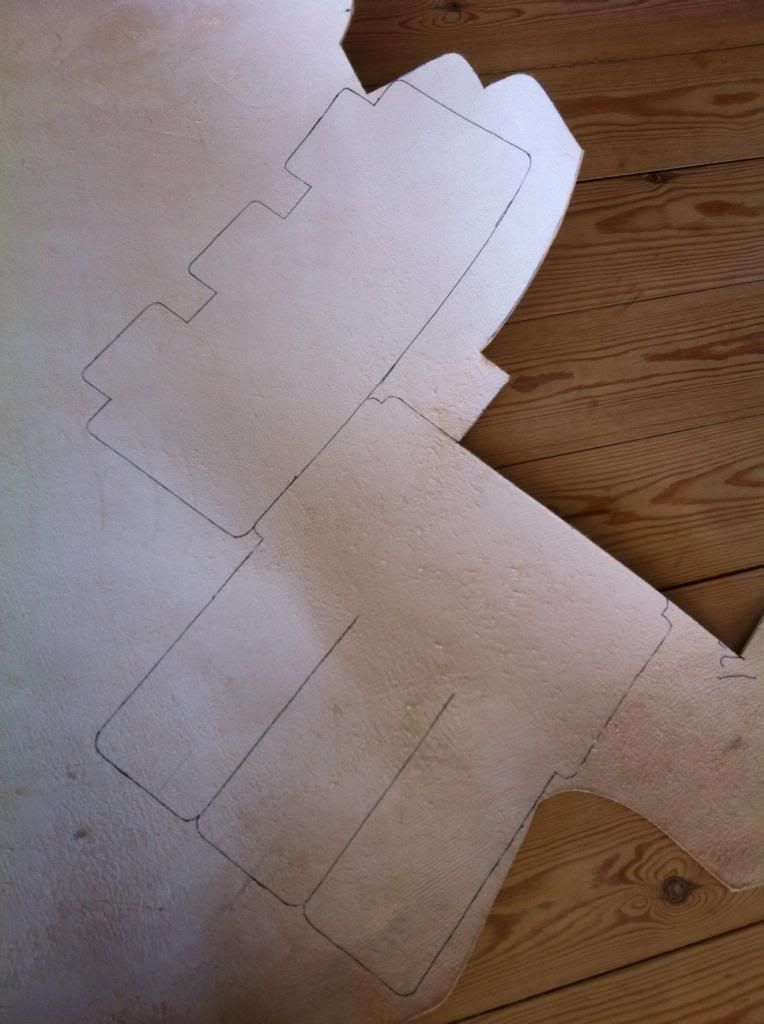
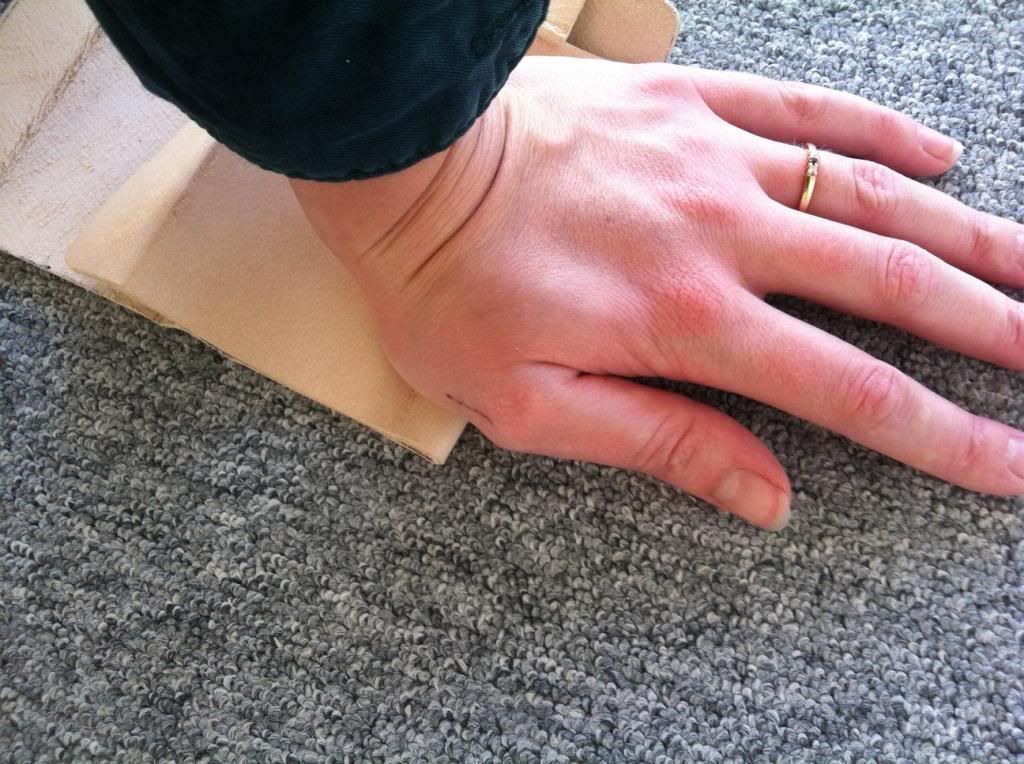
I started pressing the leather into shape.
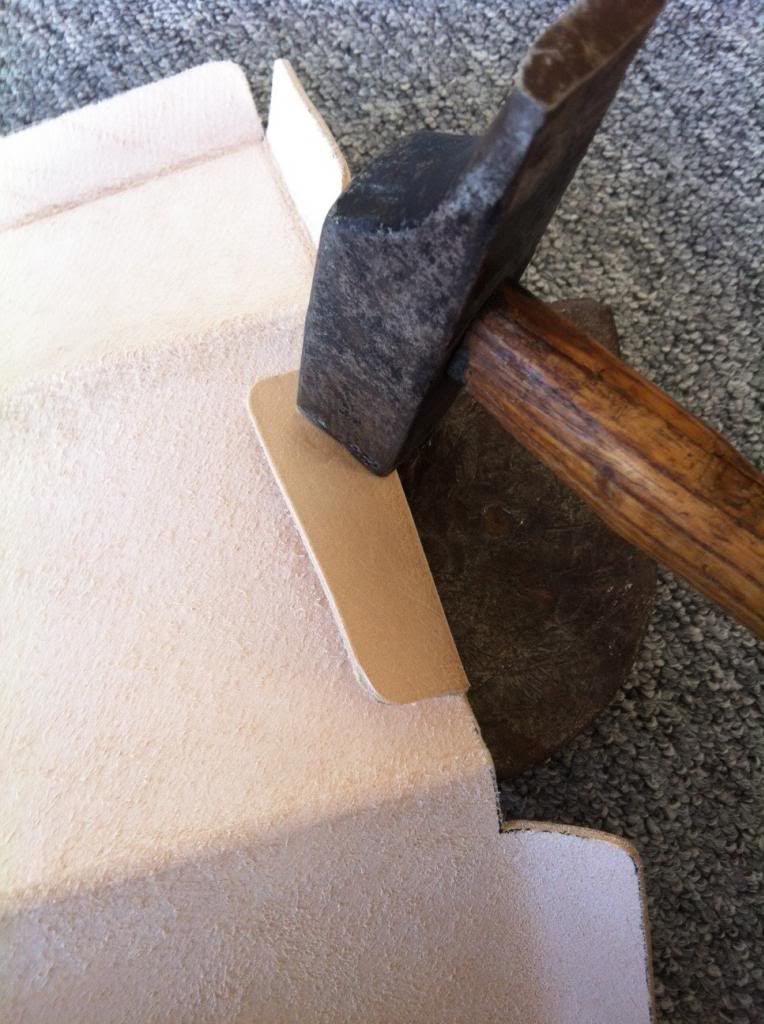
When that wasn't enough I hot a small hammer. Leather bending is hard work!
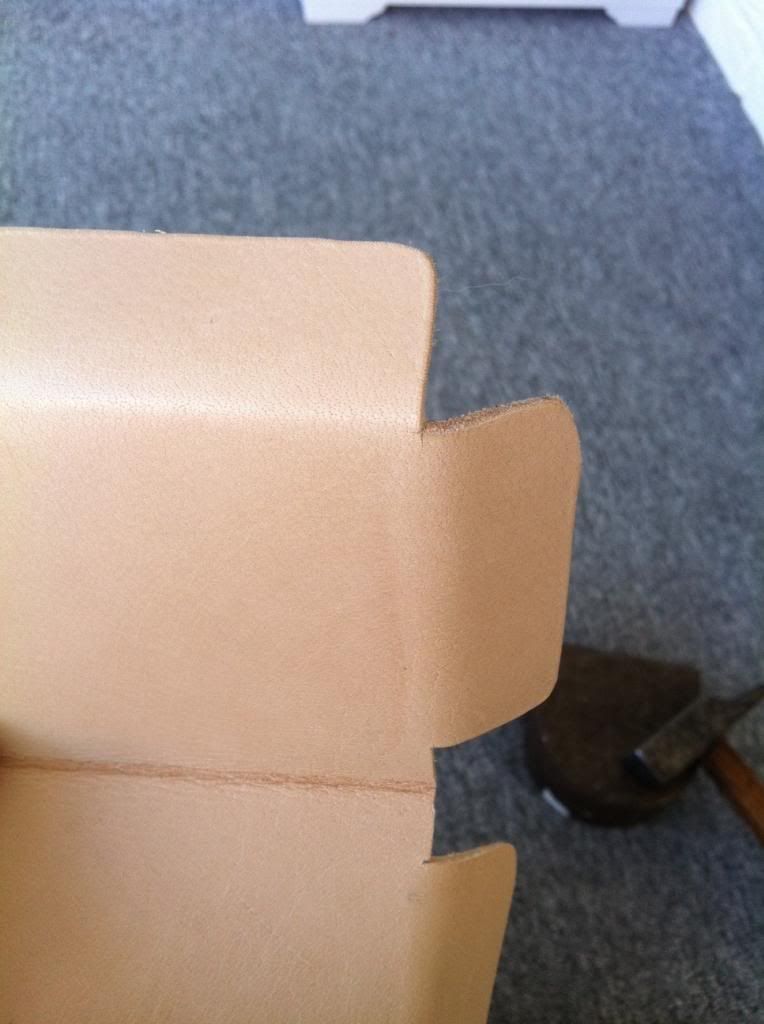
The folds before hammering:
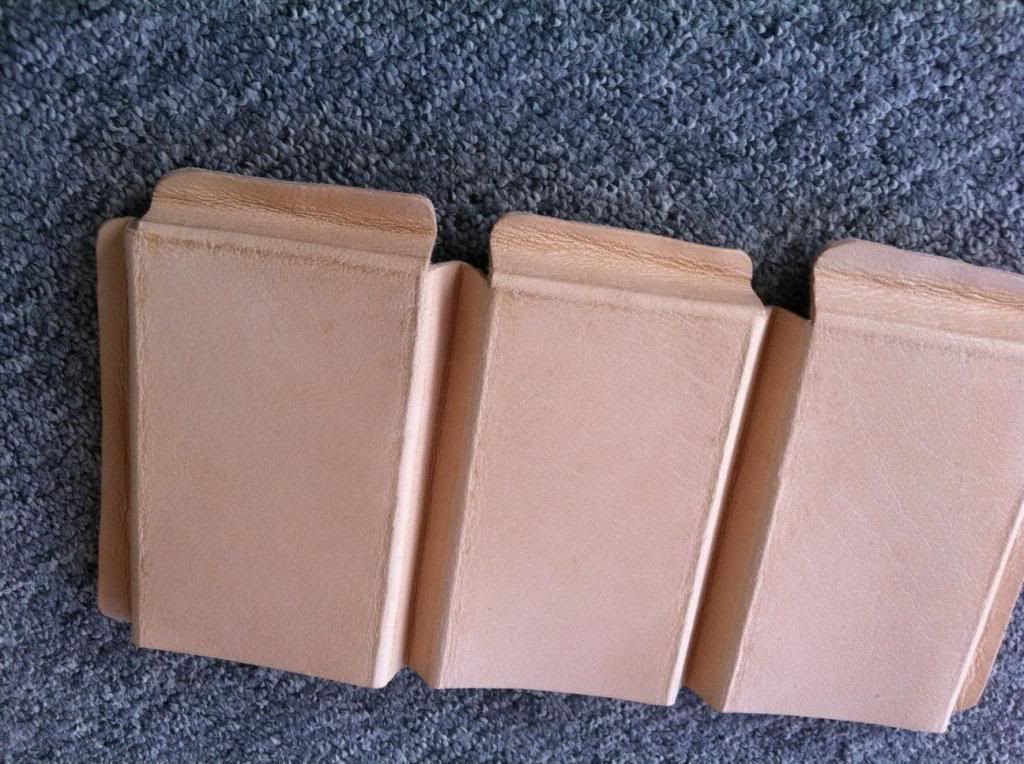
The folds after:
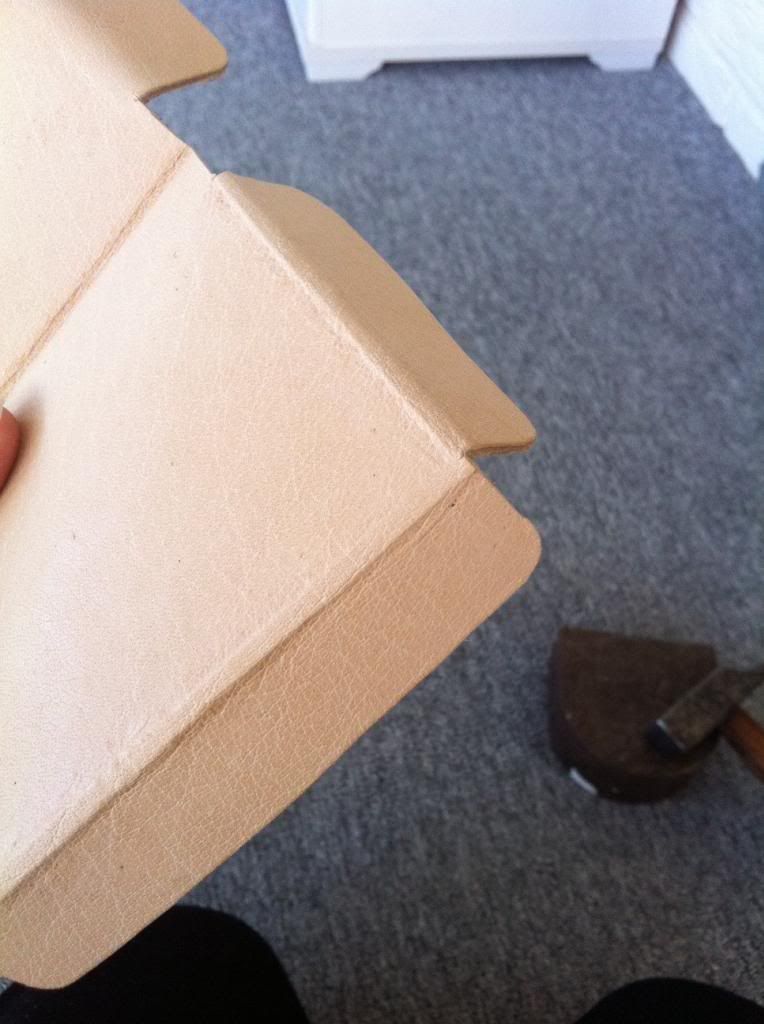
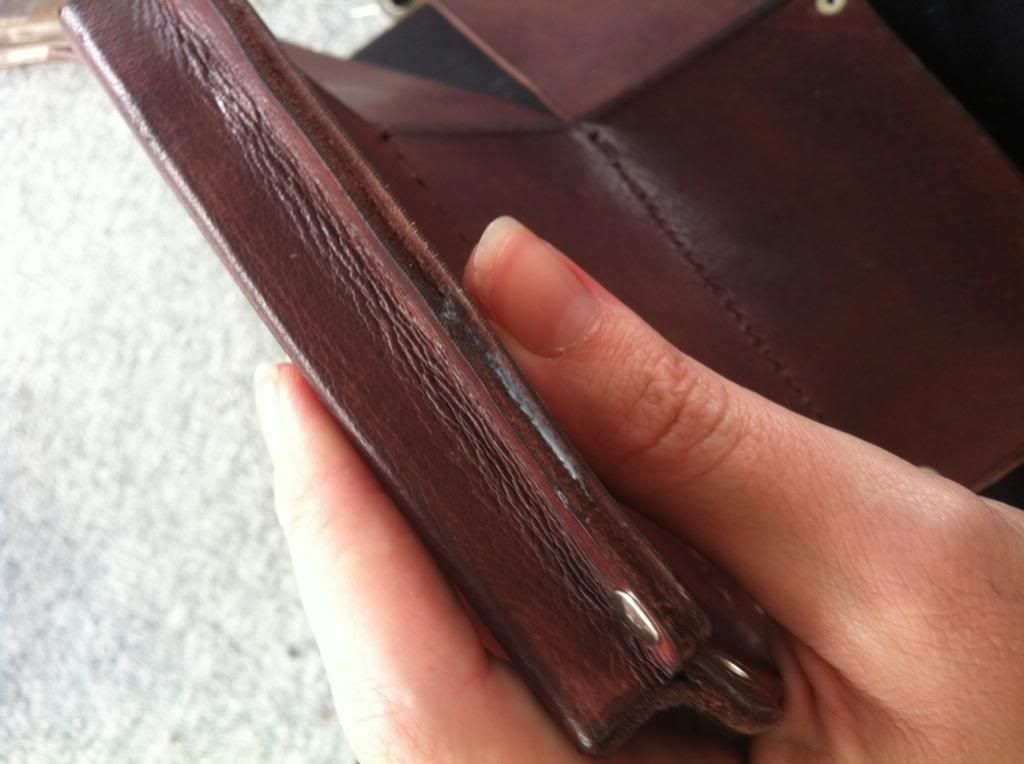
This is what the front piece looks like when hammered into shape. The back/flap part needed no folds.
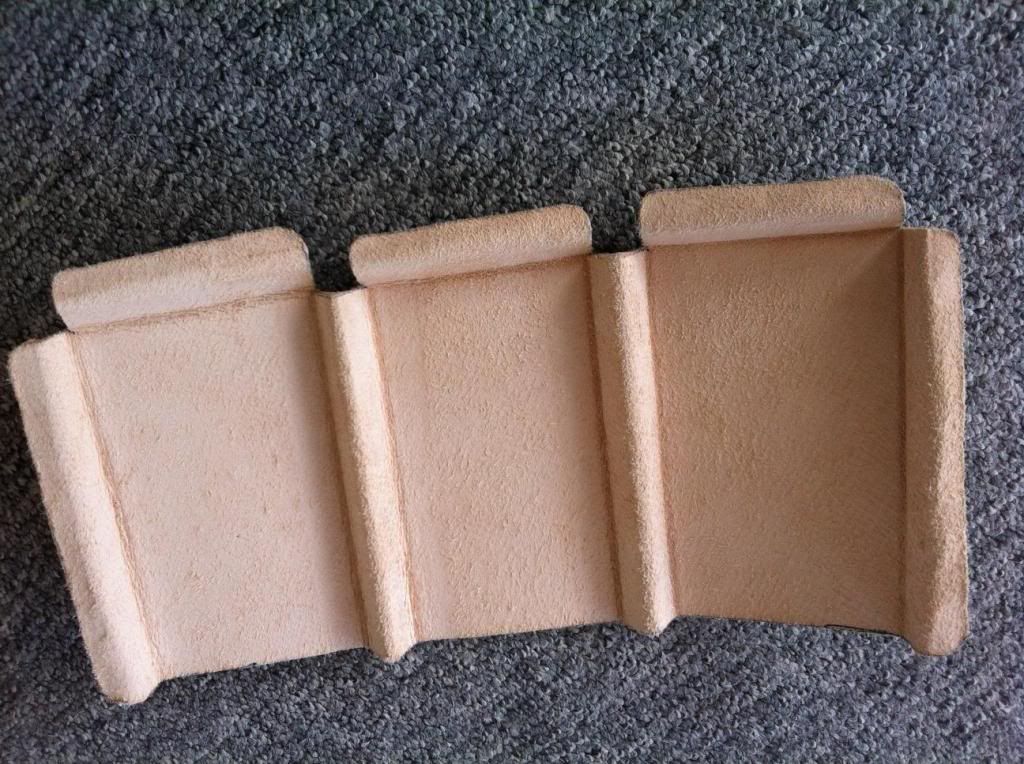
Front piece from the inside.
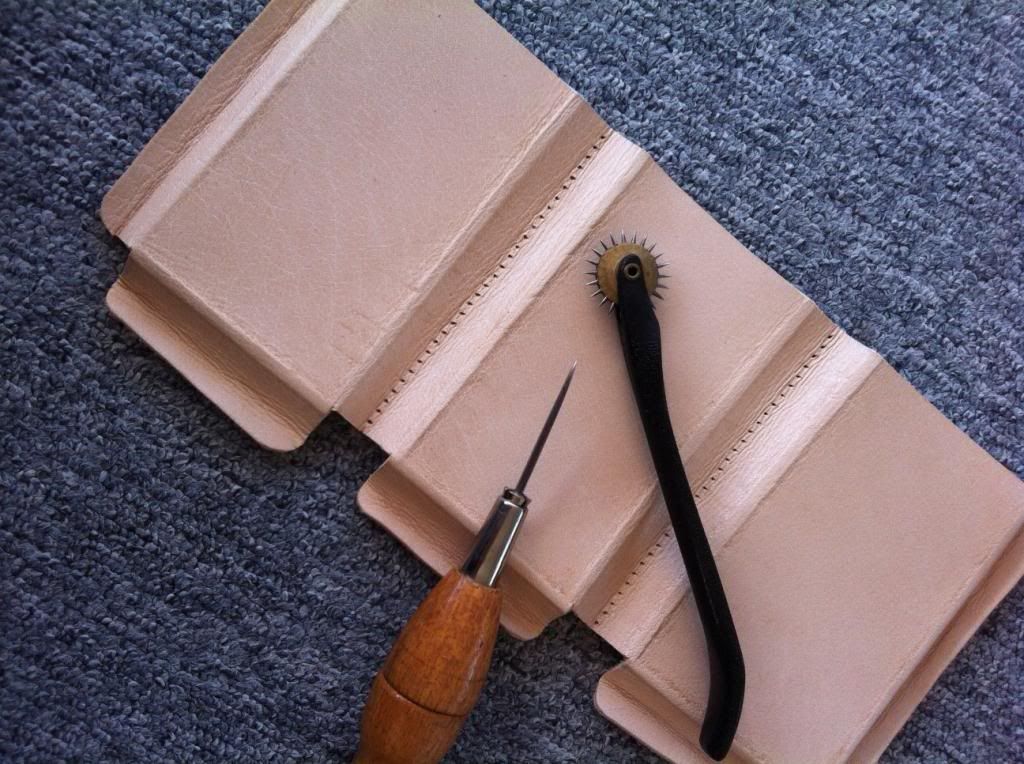
I made two lines of holes where I needed to sew the leather. The rest will be riveted in place. Be sure to stab the leather with the awl thoroughly to make it easier to get the needle through!
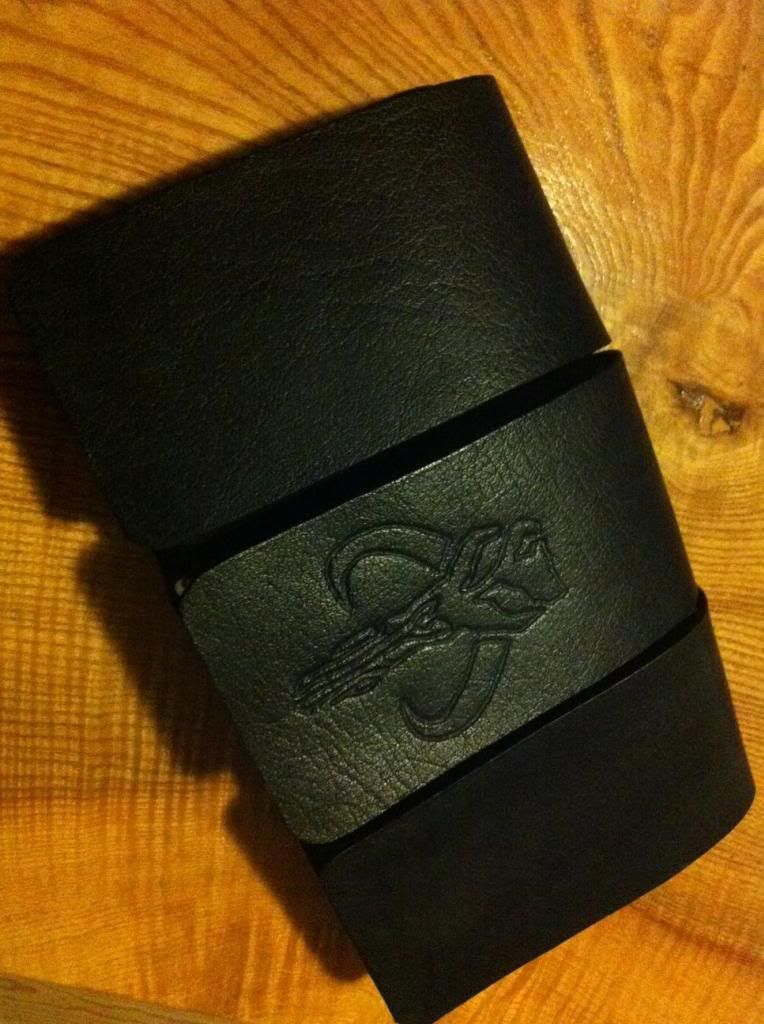
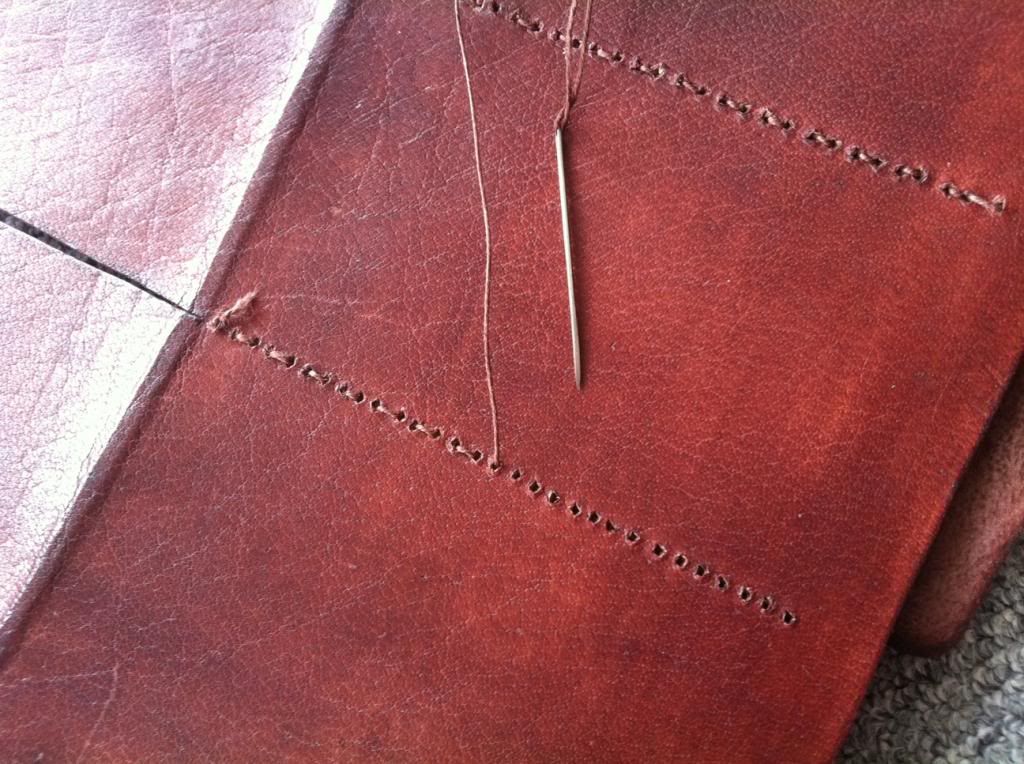
The rancor was a little pale, so I dyed him a nice dark brown. Then I started sewing the two pieces together.
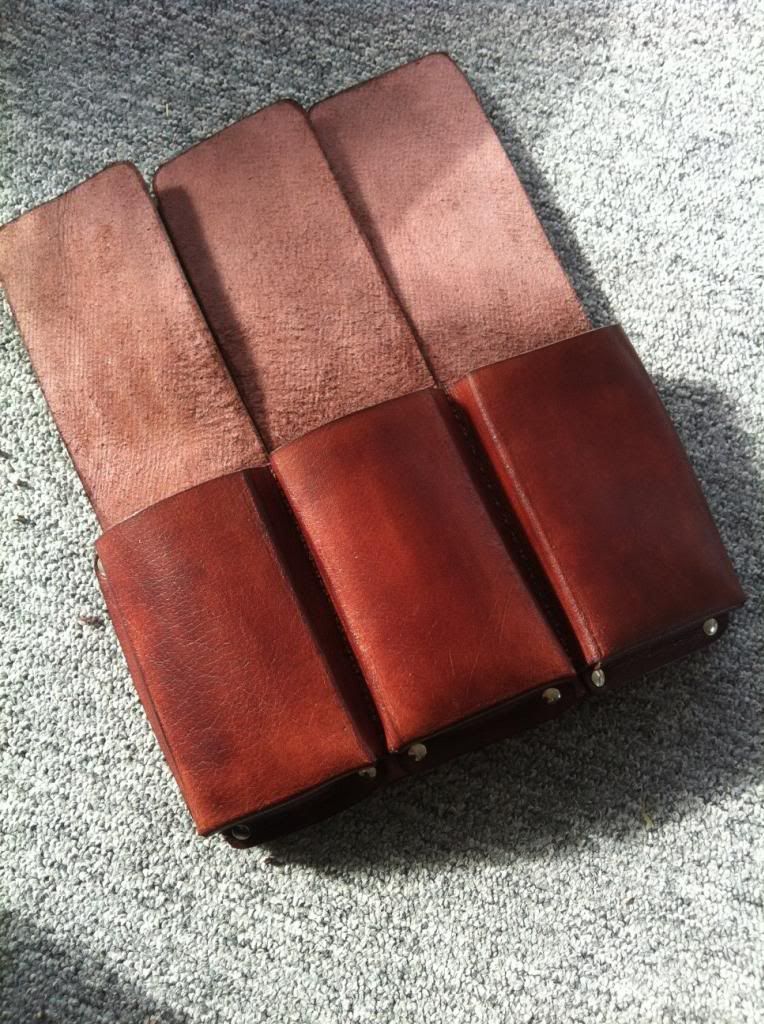
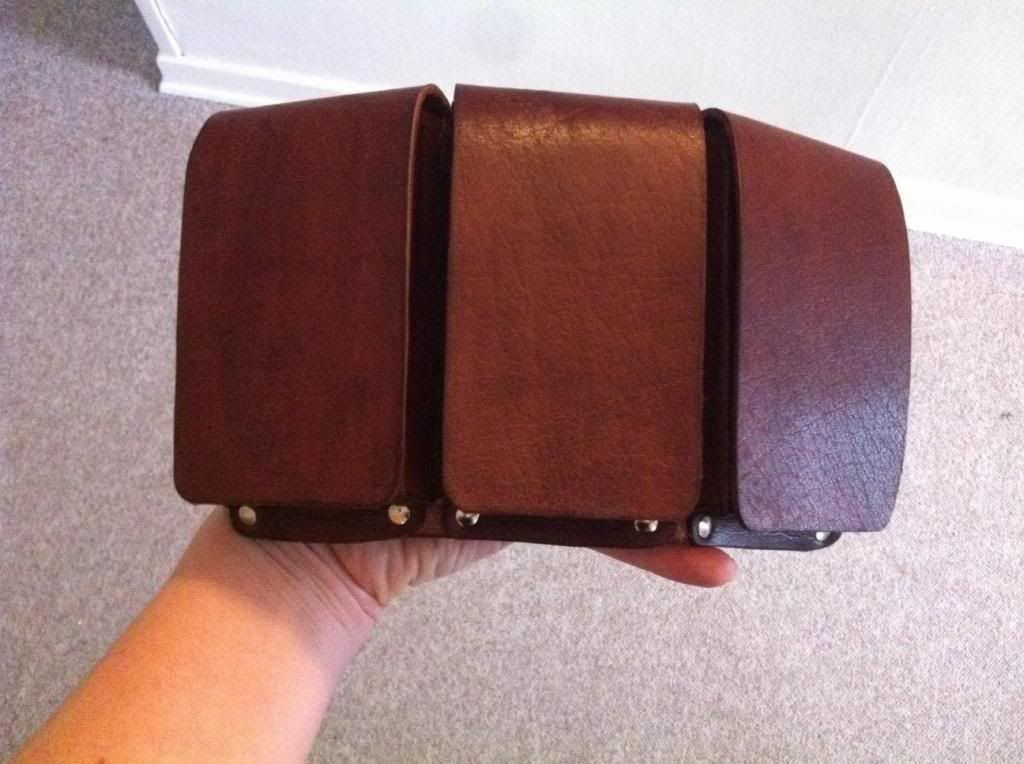
I riveted all corners together, and this is how it looks!
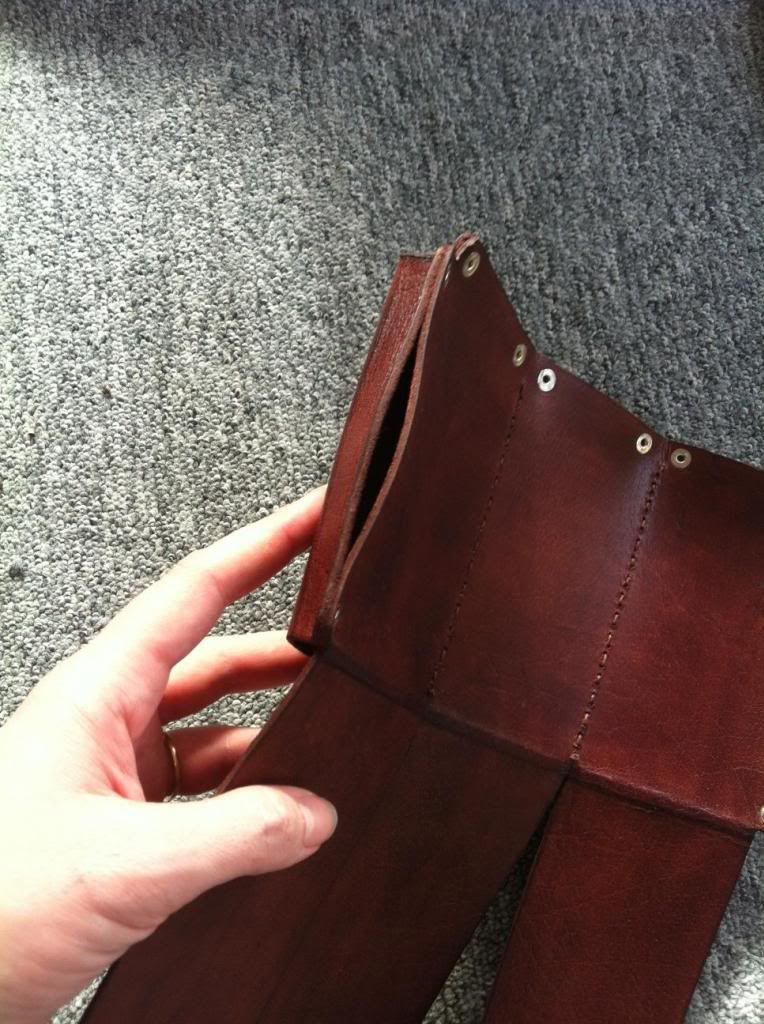
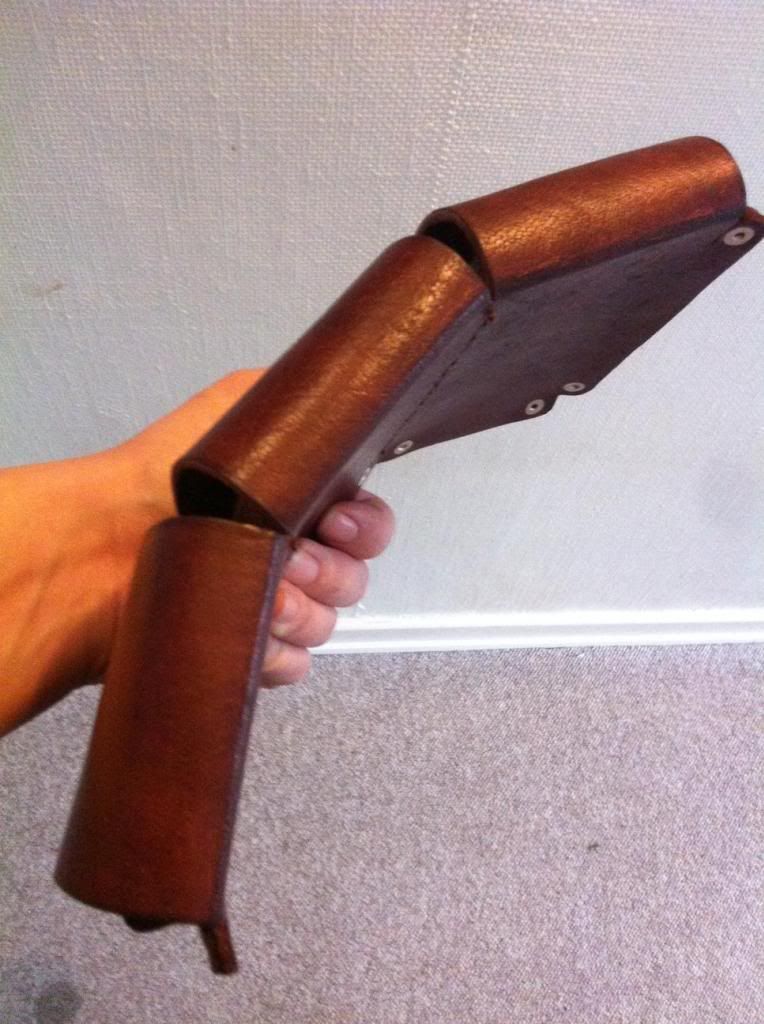
The sides were easily separated and not suited for holding any valuables.
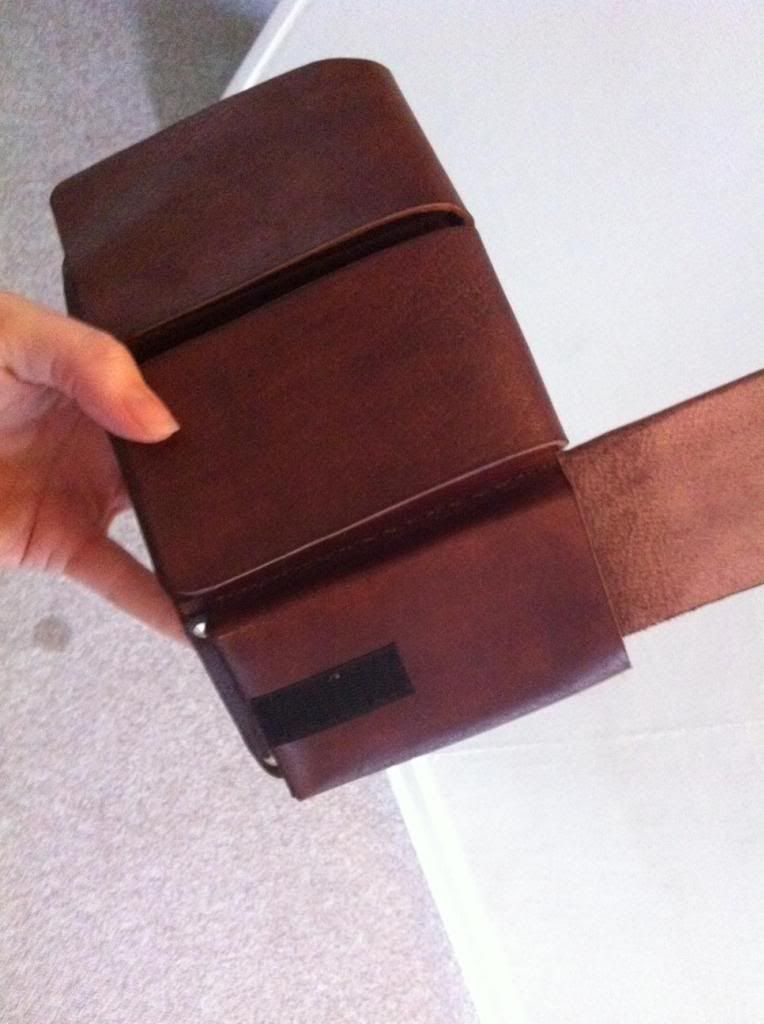
... easily solved with leather glue!
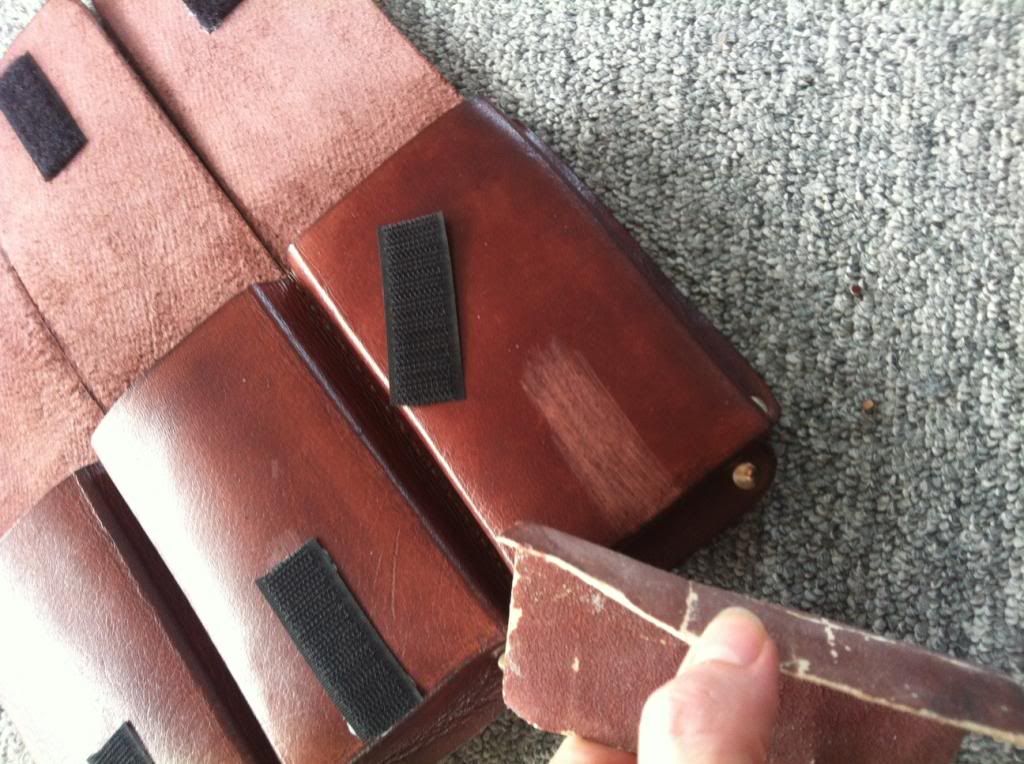
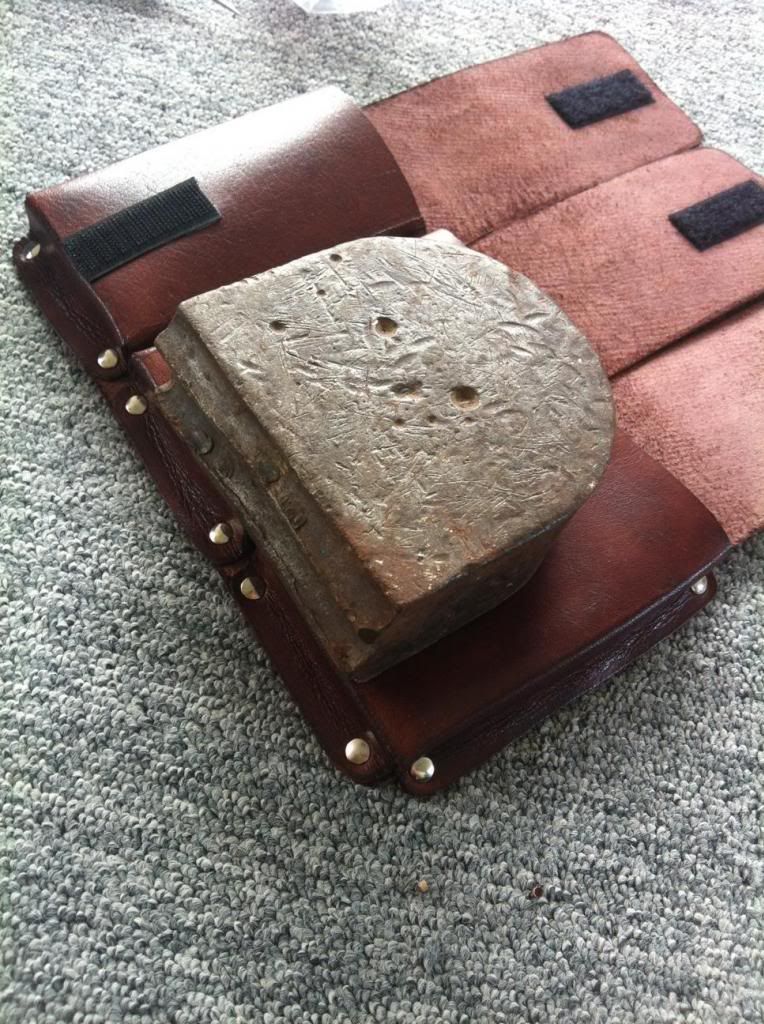
I chose velcro for closing the pouches. Gluing it on leaves the front flap nice and plain with no stitches or rivets. I sanded down the smooth side of the leather for the glue to better bind.
'Apply pressure until the glue has dried.' Alrighty then! A job for my beloved chunk of iron.
And here we are!
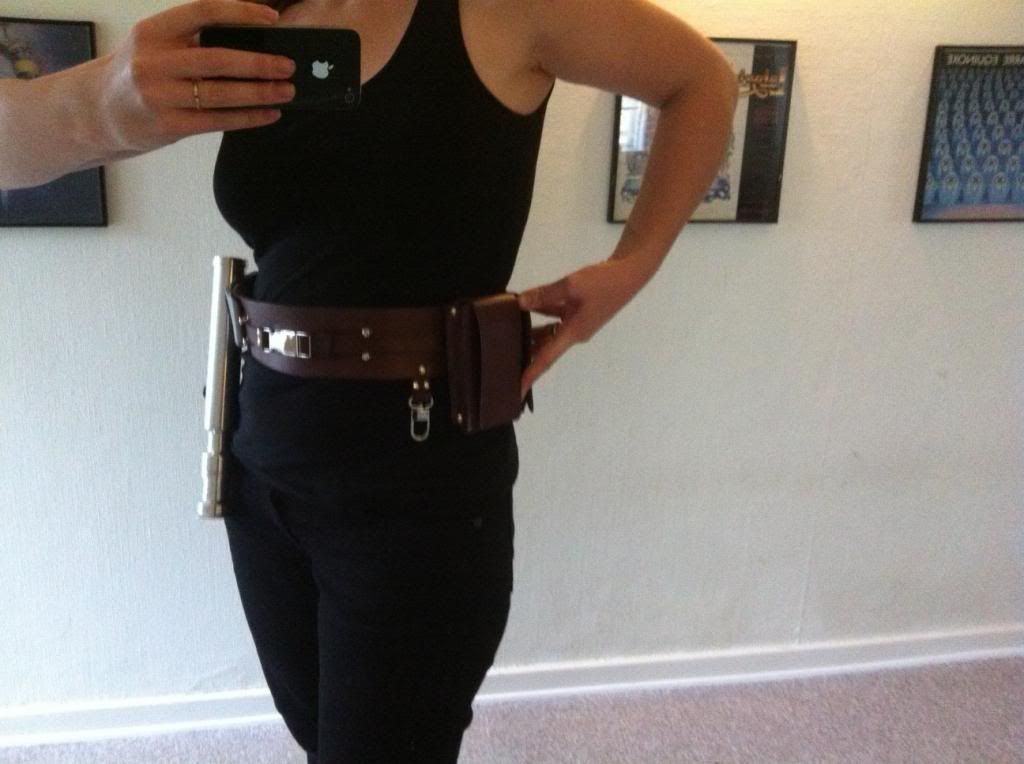
It'll be fastened to my jedi belt (which, as you can see, needs to be adjusted!) by two studs. I just need to make two holes in the back of the pouches and they snap right on.
This is the pattern I startet out with. It's made in size to hold my
I choose a nice thick rancor hide. Gundark would be fine too, and give it a nice red colour I believe.
I started pressing the leather into shape.
When that wasn't enough I hot a small hammer. Leather bending is hard work!
The folds before hammering:
The folds after:
This is what the front piece looks like when hammered into shape. The back/flap part needed no folds.
Front piece from the inside.
I made two lines of holes where I needed to sew the leather. The rest will be riveted in place. Be sure to stab the leather with the awl thoroughly to make it easier to get the needle through!
The rancor was a little pale, so I dyed him a nice dark brown. Then I started sewing the two pieces together.
I riveted all corners together, and this is how it looks!
The sides were easily separated and not suited for holding any valuables.
... easily solved with leather glue!
I chose velcro for closing the pouches. Gluing it on leaves the front flap nice and plain with no stitches or rivets. I sanded down the smooth side of the leather for the glue to better bind.
'Apply pressure until the glue has dried.' Alrighty then! A job for my beloved chunk of iron.
And here we are!
It'll be fastened to my jedi belt (which, as you can see, needs to be adjusted!) by two studs. I just need to make two holes in the back of the pouches and they snap right on.


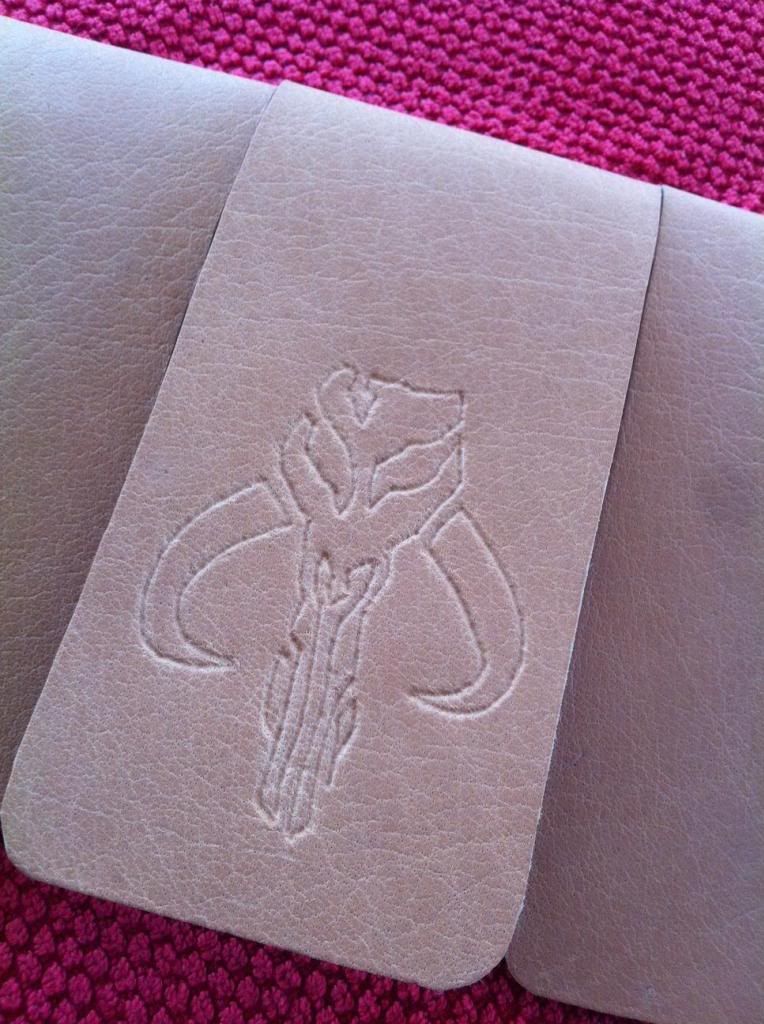
 Still, embossing the mythosaur skull was worth it!